Pages

Friday, May 18, 2012

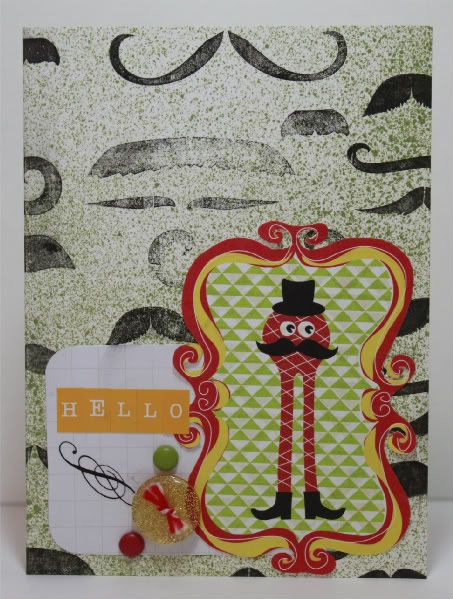
Mustache Monster- gel-a-tins stamps

Today is my first day being featured on the gel-a-tins blog!!!  I love the quality of the stamps!  


I saw this stamp set and knew I had to make a card to send to my friend! Who wouldn't enjoy a mustache card?!?

Image


Supplies Used:
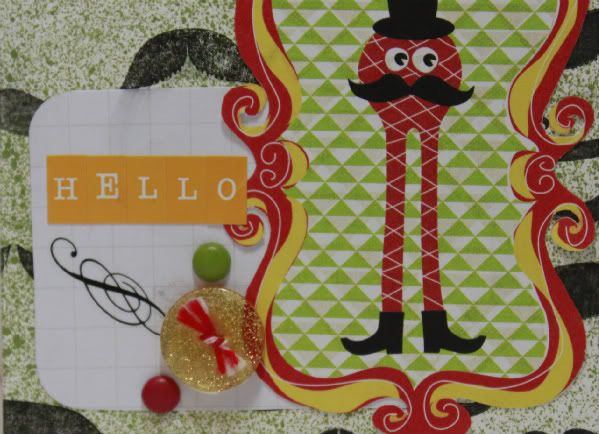
gel-a-tins Mustache Mania stamp set, Studio G black ink, Maya Road Avocado Metallic Mist, Sassafras Lass monster paper and brads, Pink Paislee rub-on, My Little Shoebox letter stickers, American Crafts button, Twinery twine, and Becky Higgins grid journaling spot.

Instructions:
I wanted to use the mustache stamps as a background, so I made a background stamp out of them! I randomly placed the mustache stamps on my acrylic block. That way I could stamp several mustaches at one time. First I misted the white cardstock to give it some color and stamped over the misted area.

Image

Thursday, May 17, 2012

Scrapfreak's Wonderful Wednesday

The Wonderful Wednesday card challenge at Scrapfreak is to create a card that has key elements that are nature oriented. Think trees, wood grain, flowers, butterflies, animals.  I knew instantly that I wanted to use my new Love Knots stamp from gel-a-tins!


Friday, May 11, 2012

5.11 Freaky Friday-Mental Health

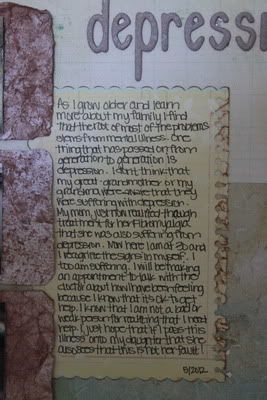
May is Mental Health Month, so in honor of this event, we are challenging you to creative a page about mental health or illness. It can be as simple as what you do to take care of yourself mentally, like ways you de-stress or help maintain balance. Or consider documenting something more serious like a mental health issue you or a loved one has dealt with. Sometimes its the tough pages that can be the most rewarding to create.


Here is my layout:


This was a great thing to scrap for me.  I have recently begun to see the signs of depression in myself.  One of the things about going to school for Social Work is that I often see the signs of mental illness in others, but I have been ignoring my own signs.  I have now set an appointment for myself!


Tuesday, May 1, 2012

Sniff, sniff. My baby is TWO!

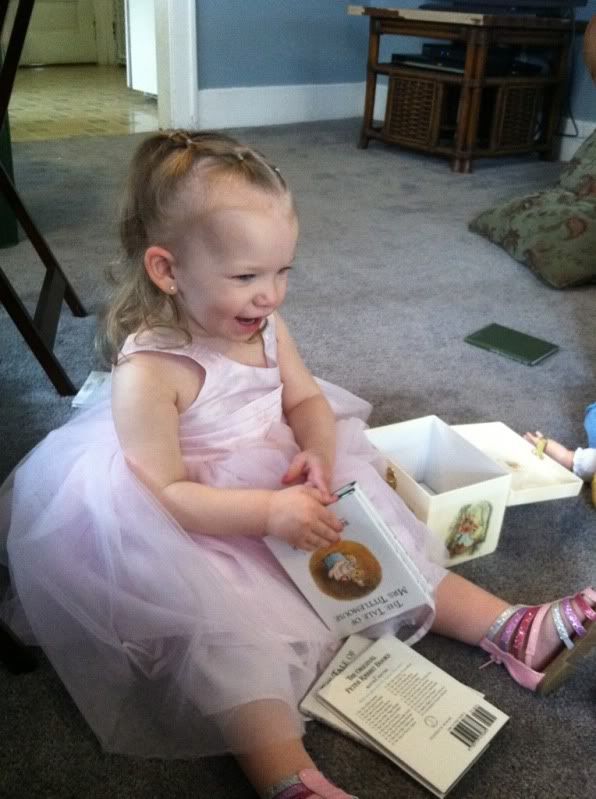
I can't believe that Julia is already two!  It's bittersweet.  She is as independent as ever.  She is talking like crazy and repeating everything she hears.  I miss my sweet little snuggle bug, but I love watching her grow into a big girl that is full of personality!

We had her birthday party on her actual birthday this year.  I had so much fun getting ready for her "Princess Party"!!  Of course, I was having so much fun that I forgot to take pictures of everything.  Thank goodness I have a picture happy family, so they picked up my slack!

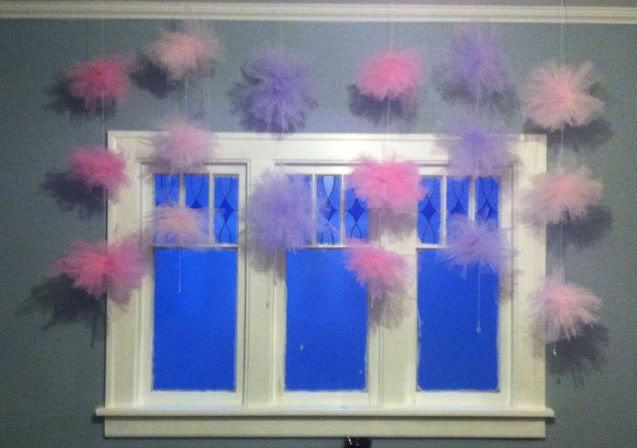
We turned the house into a pink and purple explosion of glitter and tulle!
I made tulle pom-pom decorations for the cake table.

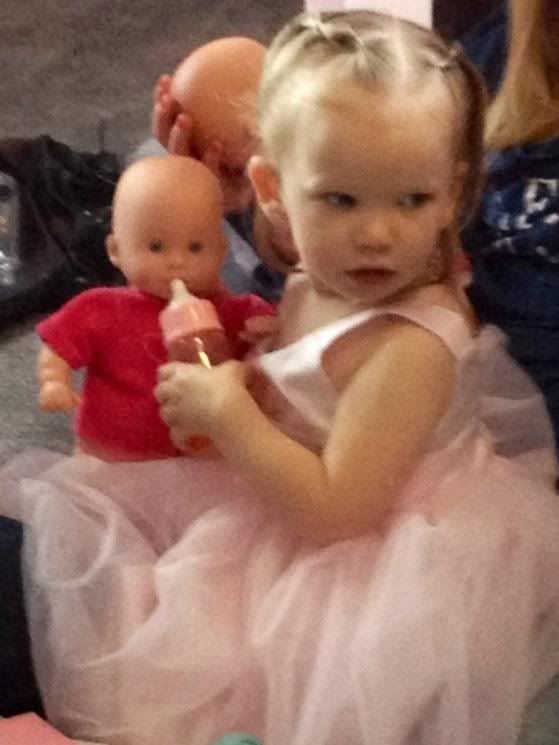
Grandma bought Julia a beautiful pink princess dress to wear for her party.  She loved twirling the skirt around!

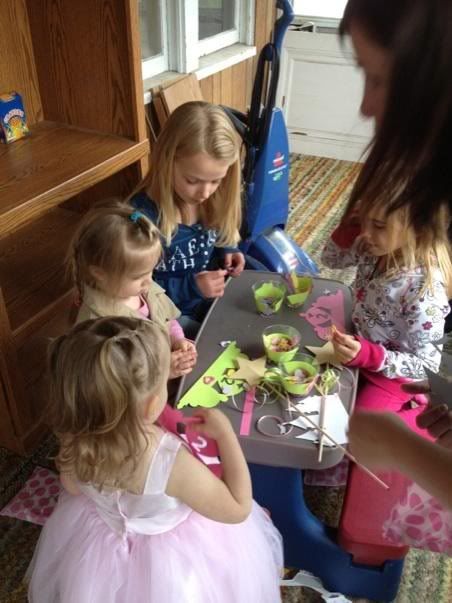
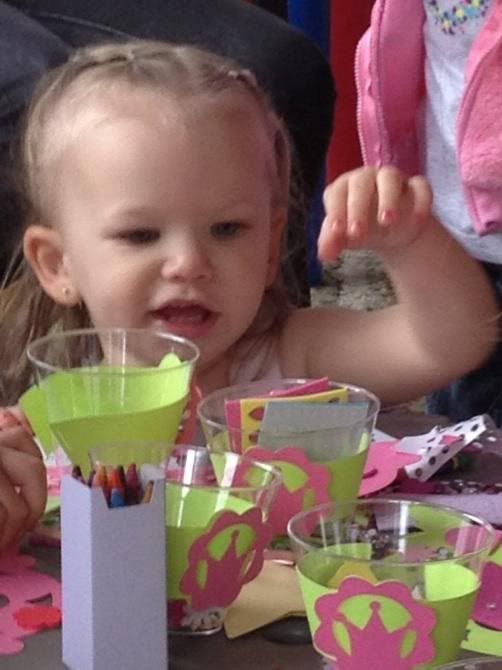
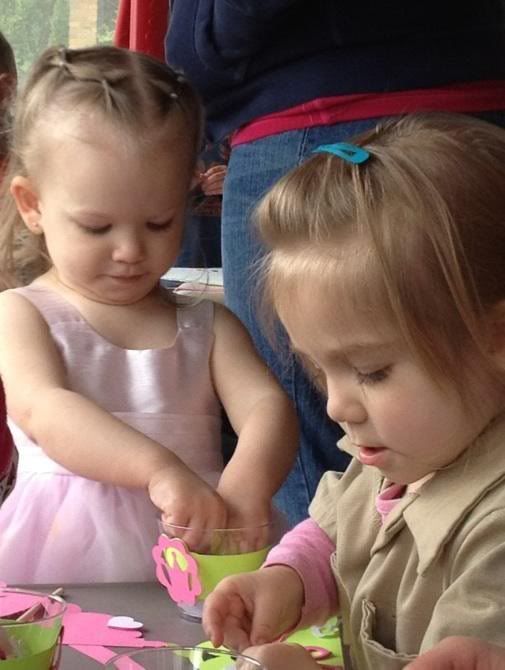
I decided that instead of games at the party, the kids could decorate crowns and wands!  I used the Cricut Princess Party event cartridge and cut out cute little crowns with a number two in the center.  Then the kids used foam stickers and jewels to decorate their own party crown.  I also used my Cricut to cut out stars for the top of the wand.  I ran the stars through my Xyron and then stuck two together with a dowel in the middle.  I added some curling ribbon on the stick and we had wands!

Julia thought that the stickers were really cool, but she just wanted to play with them.  She didn't want anything stuck on her crown or wand!


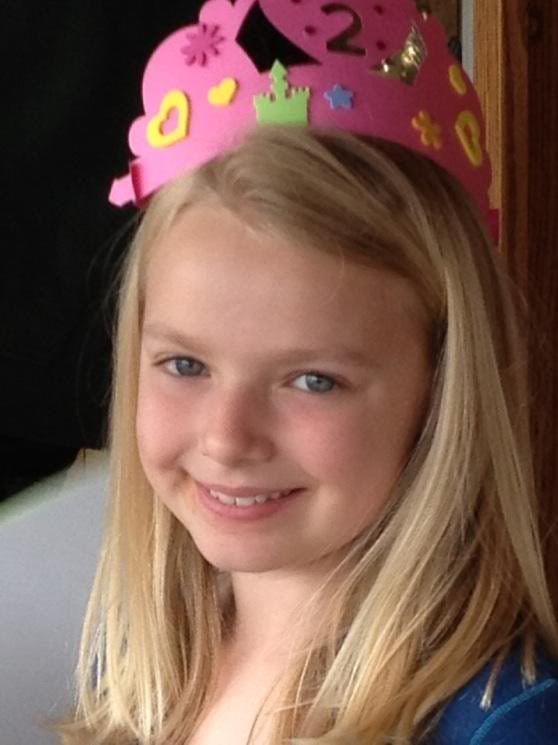
Here is Kadymn with her beautiful crown!


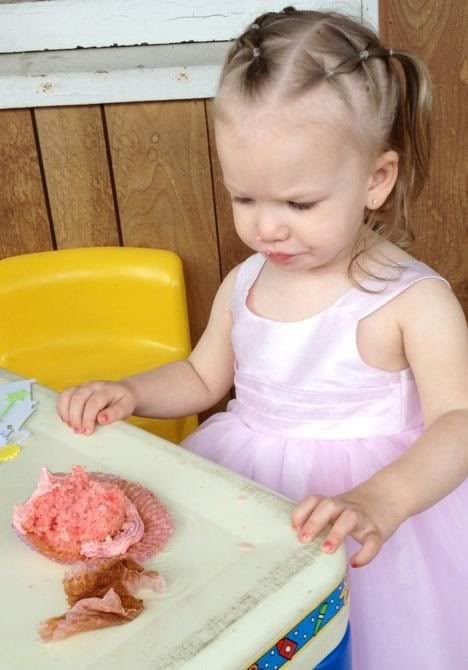
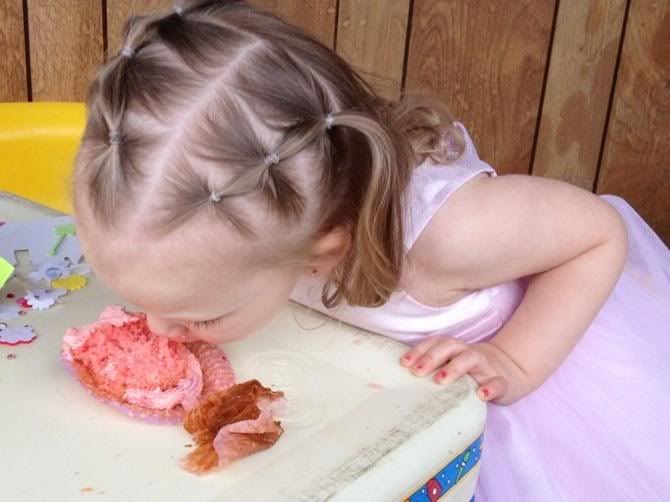
Grandma also made Julia pink strawberry cupcakes with pink buttercream frosting and purple sugar sprinkles.  And, since Julia is a goof ball, she decided to eat her cupcake without using her hands!


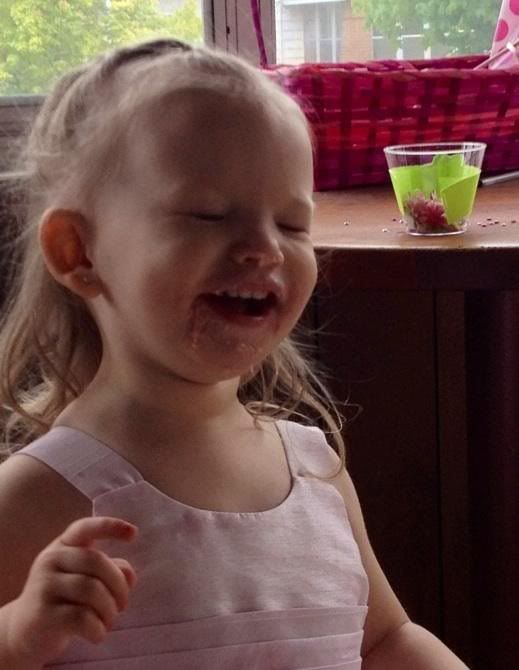
And she thought she was SOOO funny!


Everyone knew exactly what Julia loves!  She received tons of babies and baby accessories. 


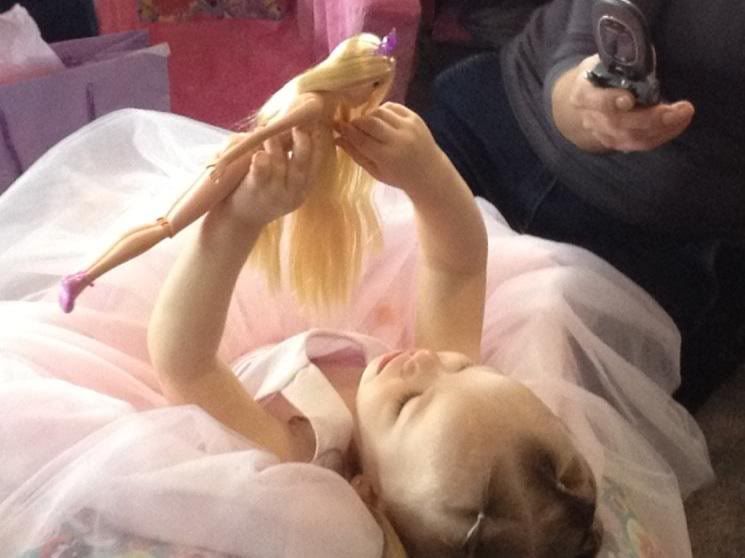
And Uncle Jason knew exactly what kind of Barbie she wanted.  One without clothes of course!

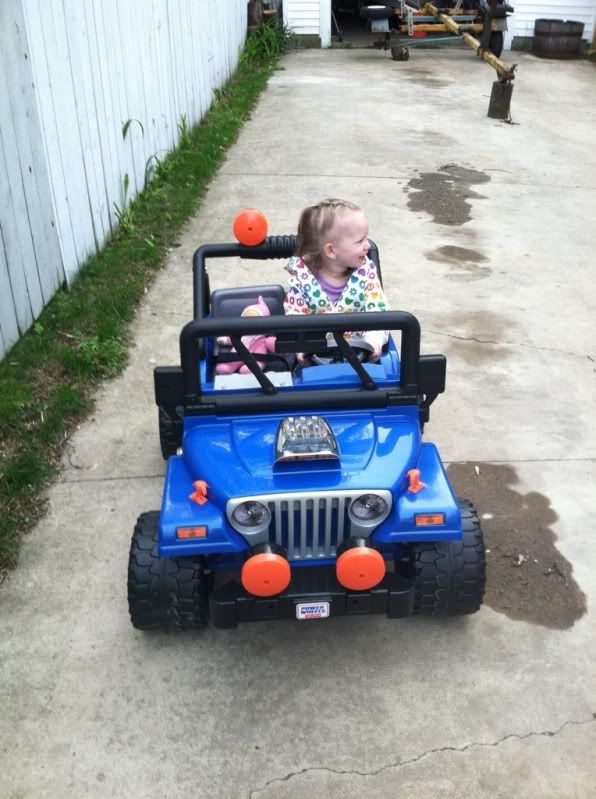
And Uncle Mark and Grandpa sure know how to spoil a girl!  They bought Julia her very first car.  A Jeep Wrangler just like they both have!


We loved having everyone here to celebrate with us!  Even if it was cold outside so there were 50 people stuck inside.  Everyone had so much fun and Julia was so happy to have her family and friends here with her.  She told me all day long that she was happy!!!


Woohoo! My first gel-a-tins package!

After returning from a super fun, yet equally exhausting, trip to Chicago I found a package from gel-a-tins waiting for me!!!

I am so excited to start creating with the stamps I received.  Since I am so excited about them, I decided to give a sneak peek at what I will be working with this month.

First up, a sweet background stamp!  I love the look of woodgrain.  Combine that with sweet heart shapes and you get Love Knots!


Next is a really fun set!  Mustaches are so trendy and fun right now.  I have several ideas for silly gifts to make with this set.  Check out Mustache Mania


I will be uploading projects using these sets on the gel-a-tins blog, so make sure you check it out!

Sunday, April 15, 2012

Quick, Stress-free Glittering!

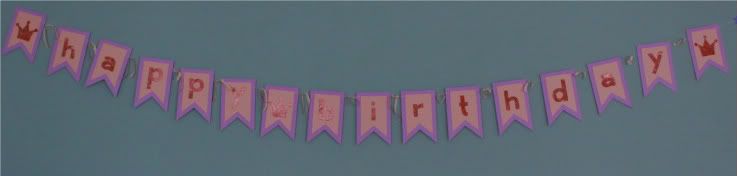
When I decided to glitter the letters on Julia's birthday I dreaded the wait for glue to dry!  Xyron to the rescue!!!  I instantly thought about using my Creative Station so that I can have a nice edge to edge coat of adhesive without having to wait on wet glue to dry before I continue on with my project or worrying about adding glue in small sections so that parts didn't dry before I added glitter to everything.  It made things go MUCH faster and took the stress out of adding glitter to 17 letters and crowns.

Want to try stress-free glittering?  Here is how I did it:

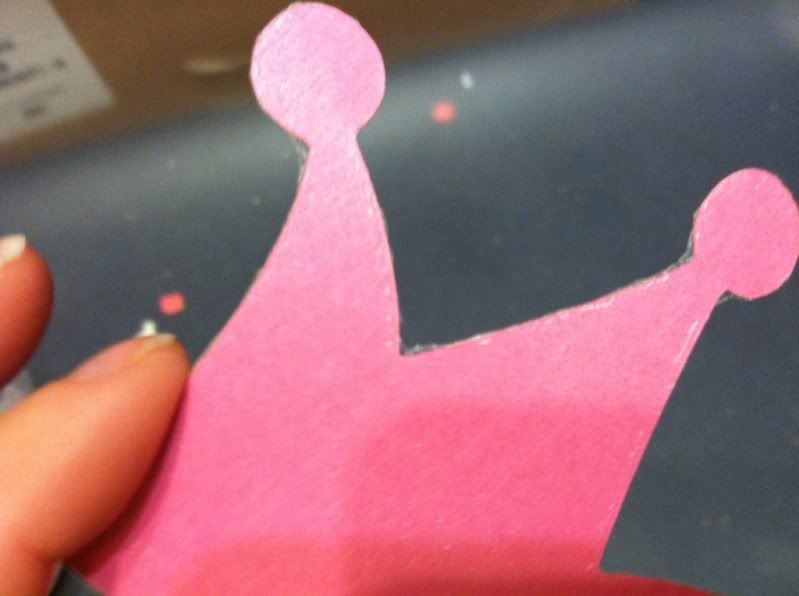
Run your pieces through your Creative Station. Remember to add adhesive to the TOP side, not the bottom like you would to stick the piece down on your project! (I admit, I ran the wrong side through twice!) Then peel the plastic sheet off and remove the piece to be glittered.


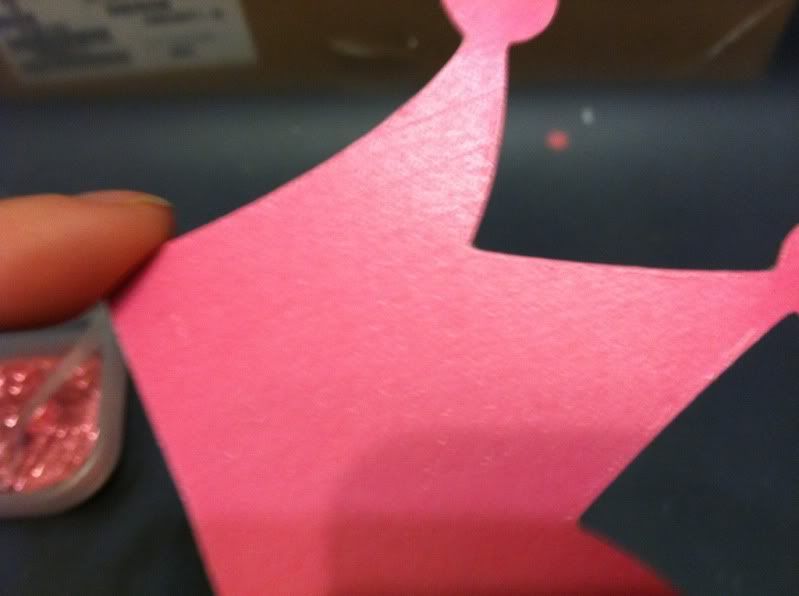
For crisp edges and to make sure that glitter only goes on the image, you will want to run your finger along the edges of your shape to make sure that there are not any rough edges.

Here you can see that in the sharp turns on the crown there are a few adhesive leftovers.


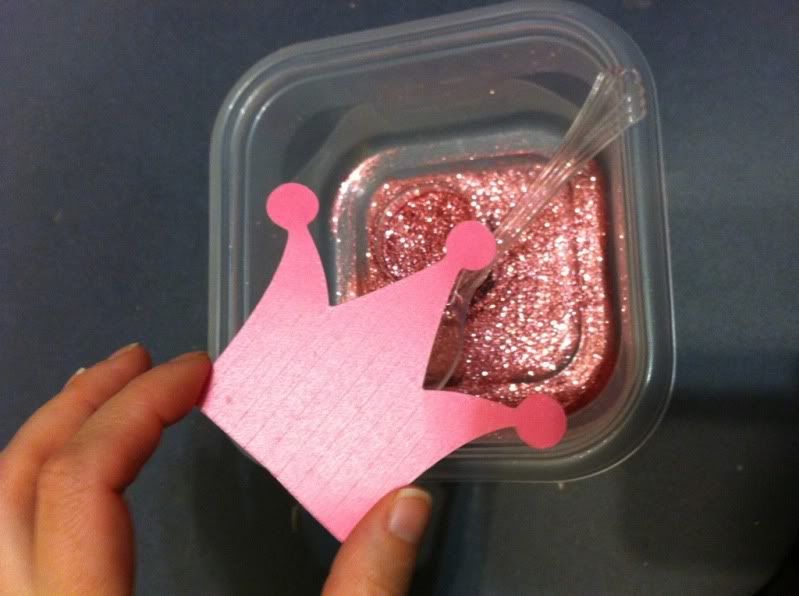
After running my finger along the edge quickly, we are all set to add glitter!


Here is another helpful hint to stress-free glittering!  I use Ziploc storage containers for my glitter and embossing powders!  That way the extra glitter falls right back into the container and I don't have to worry about trying to roll a piece of scrap paper enough to get the glitter back into the small container it comes in and it's a lot cleaner that way too.


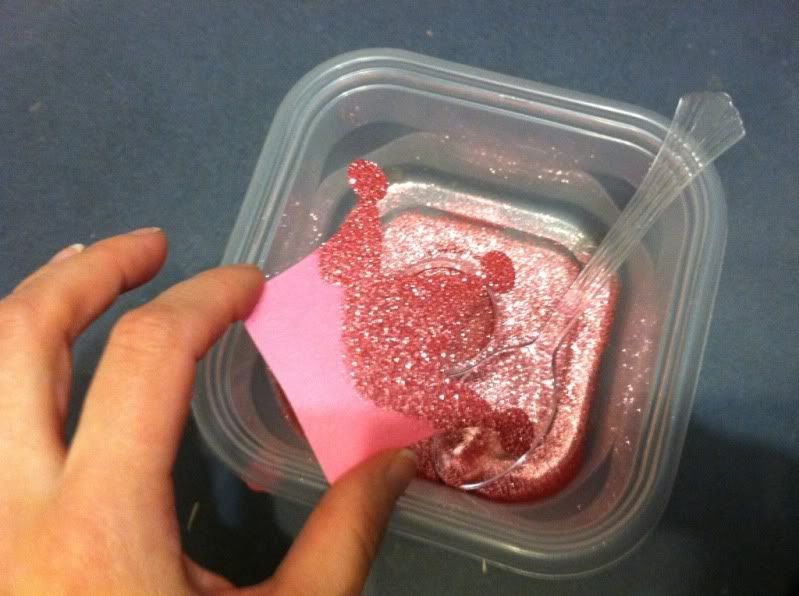
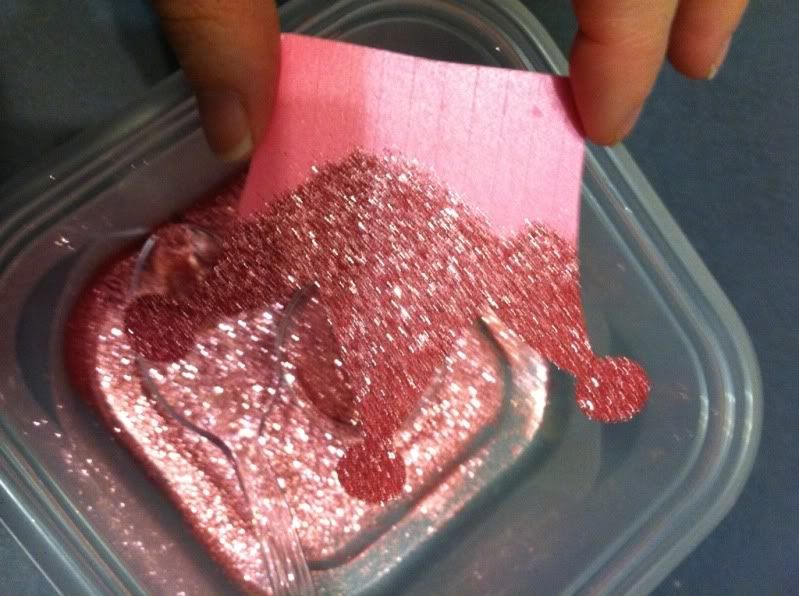
I held onto the shape along the edges so I didn't get any adhesive stuck to my fingers rather than on the piece.  Then I spooned my glitter over the shape.

I then tapped off the excess right into the Ziploc container.  No worries about clean up!


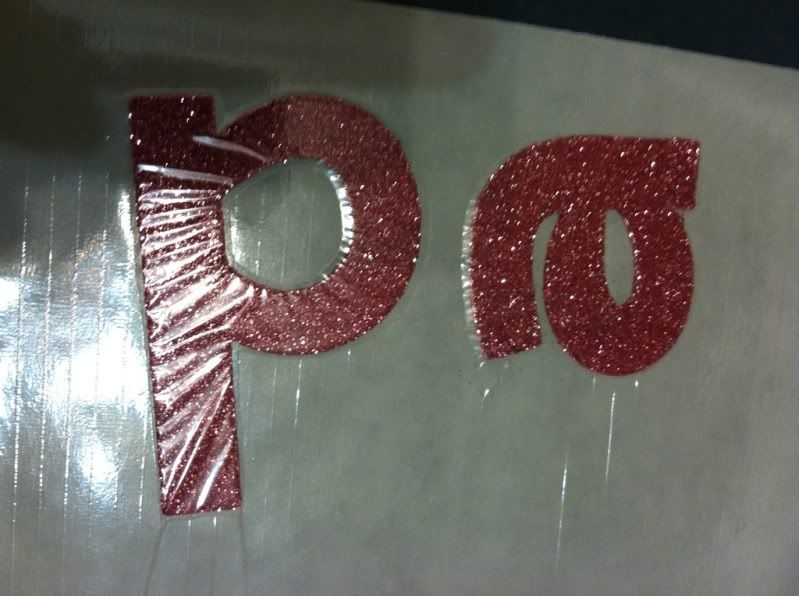
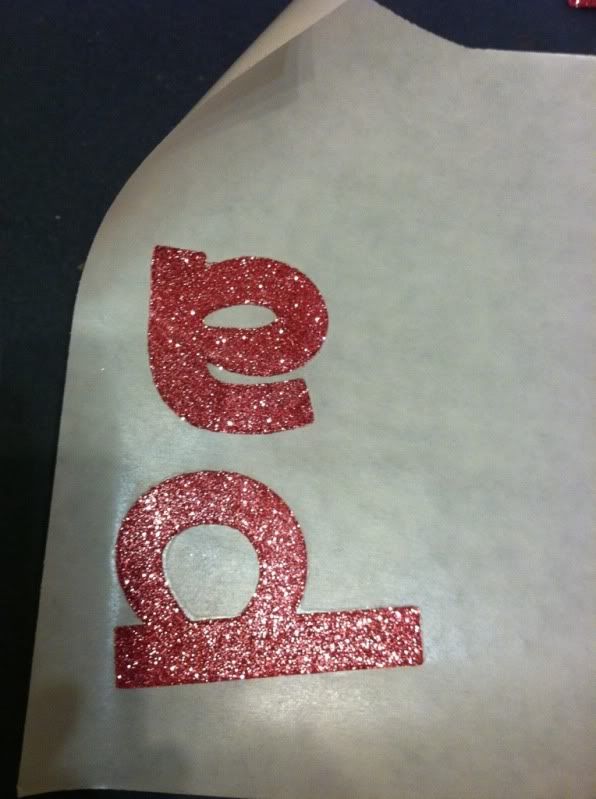
Because the Creative Station add a protective plastic layer over the items I am adding adhesive to, I was able to run the glittered pieces through it to add adhesive to the back side.  This allowed me to have a strong adhesive on the back of each letter and shape I was adding to the banner without having all the glitter get ruined or clog up the machine with glitter.


And, you can see that the glitter still looks great even after putting the letters and shapes through the machine again!


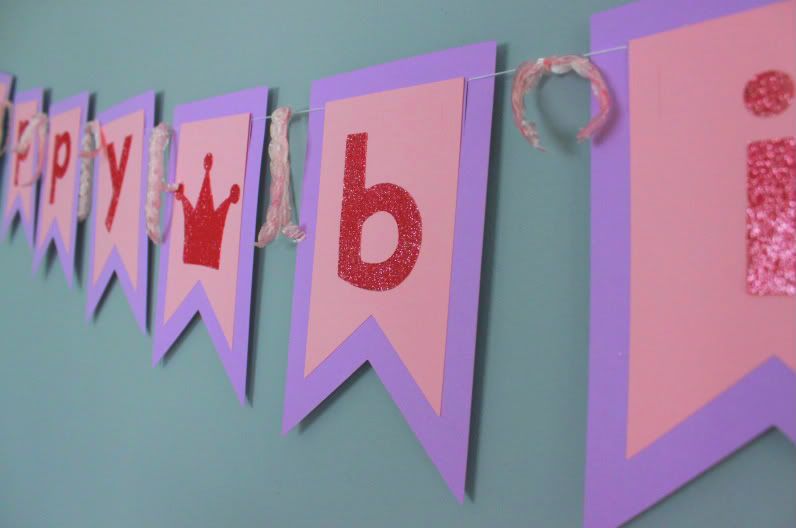
Once the letters were all full of pink, sparkly glitter and had adhesive on the back, I stuck them to the pennant shapes that I had already layered together.  I then strung the banner and it is ready to go for Julia's 2nd birthday!


Tuesday, April 10, 2012

Some exciting news to share!

I am proud to announce that I am a new gel-a-tina for gel-a-tin stamps!  When I first started out scrapping it was cardstock and stamps for this girl.  Now I am getting back to my roots with stamps and ink, but I have come a long way since my first scrapbook pages and cards.  I am excited to share all of the fun I will be having with stamps!

Need some stampy inspiration?  Take some time to check out the gel-a-tins blog or "like" them on Facebook to stay up to date with all things gel-a-tin!