Want to try stress-free glittering? Here is how I did it:
Run your pieces through your Creative Station. Remember to add adhesive to the TOP side, not the bottom like you would to stick the piece down on your project! (I admit, I ran the wrong side through twice!) Then peel the plastic sheet off and remove the piece to be glittered.
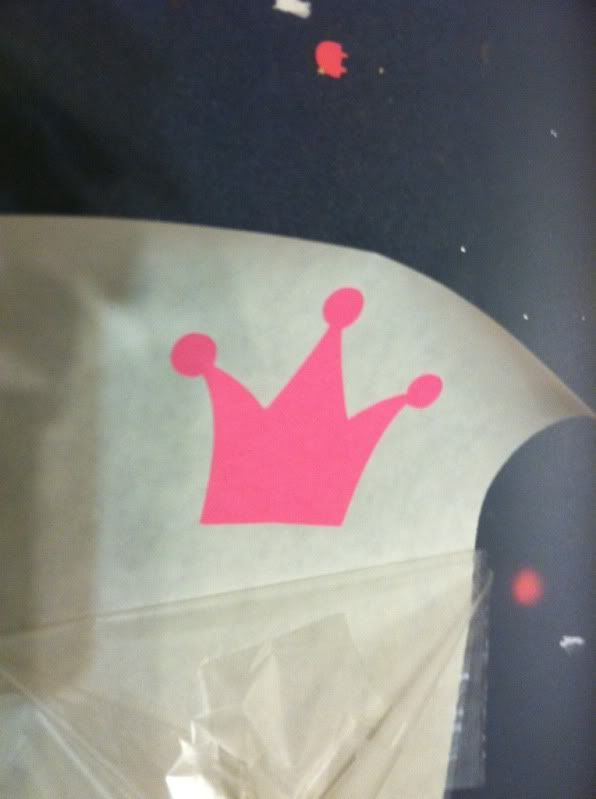
For crisp edges and to make sure that glitter only goes on the image, you will want to run your finger along the edges of your shape to make sure that there are not any rough edges.
Here you can see that in the sharp turns on the crown there are a few adhesive leftovers.
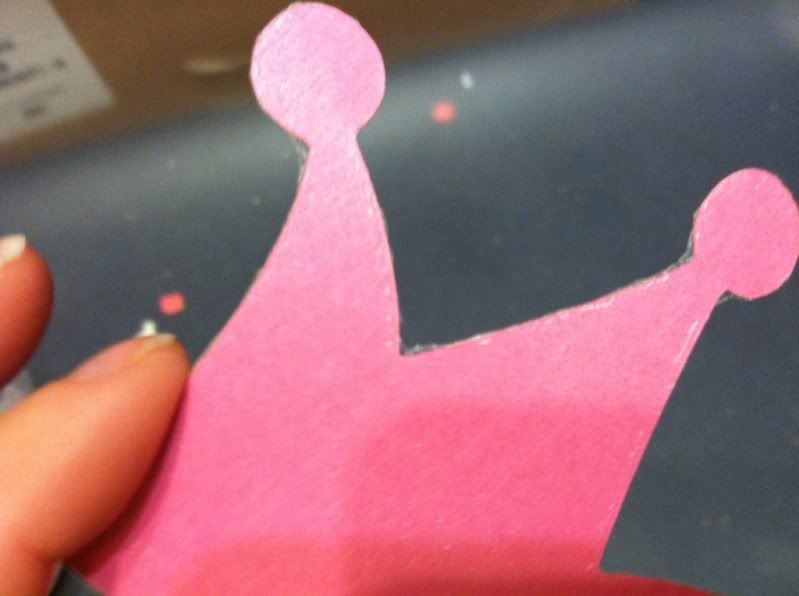
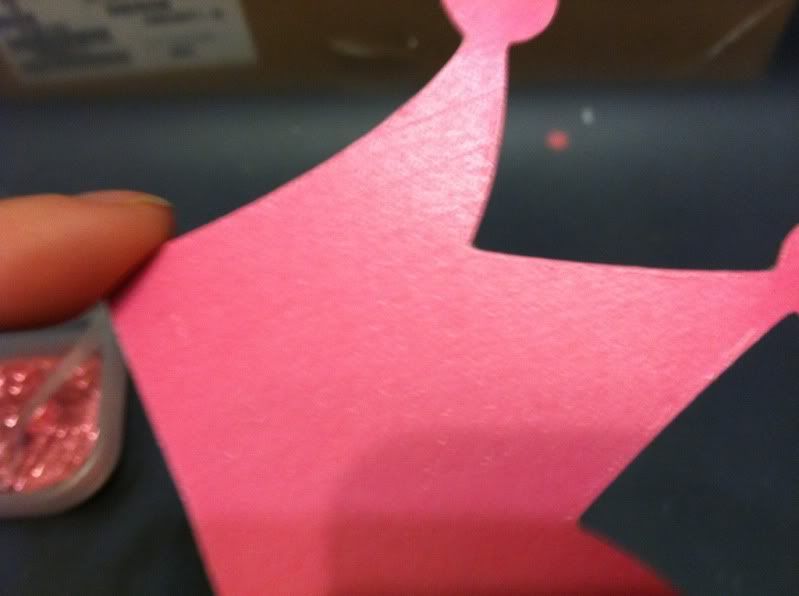
After running my finger along the edge quickly, we are all set to add glitter!
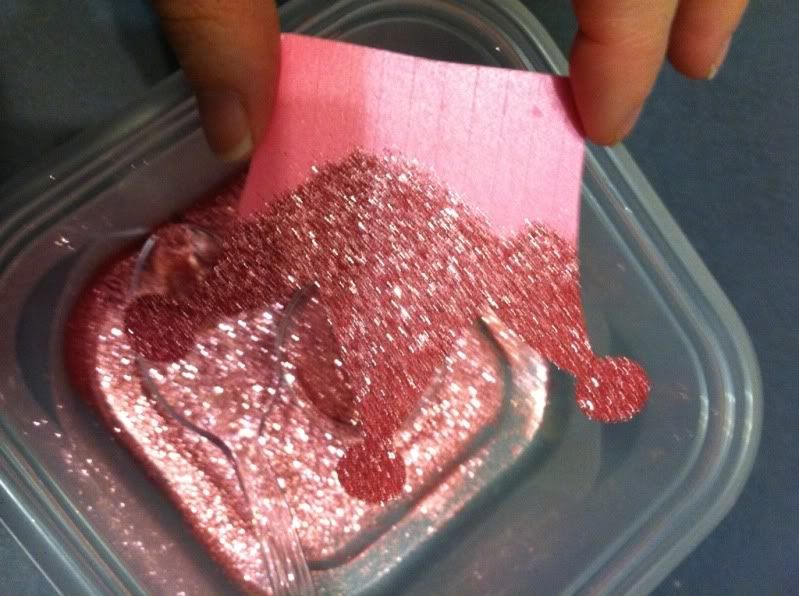
Here is another helpful hint to stress-free glittering! I use Ziploc storage containers for my glitter and embossing powders! That way the extra glitter falls right back into the container and I don't have to worry about trying to roll a piece of scrap paper enough to get the glitter back into the small container it comes in and it's a lot cleaner that way too.
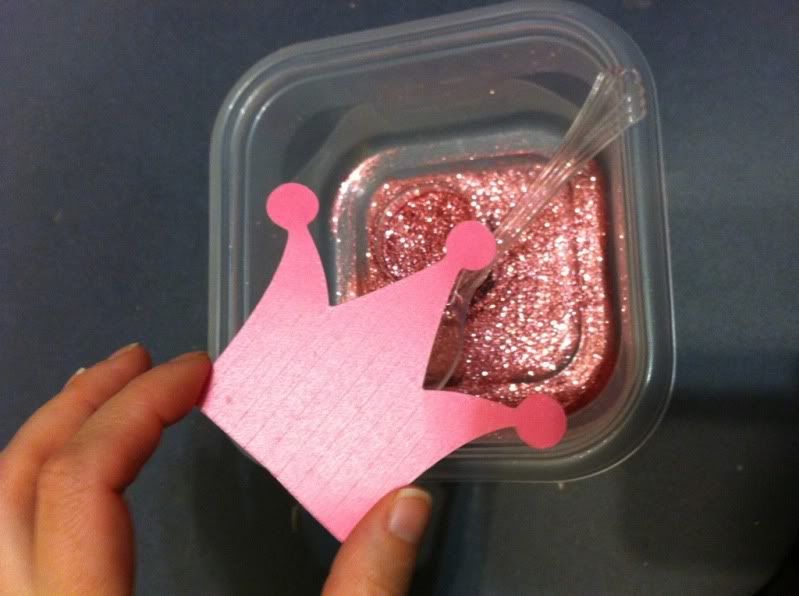
I held onto the shape along the edges so I didn't get any adhesive stuck to my fingers rather than on the piece. Then I spooned my glitter over the shape.
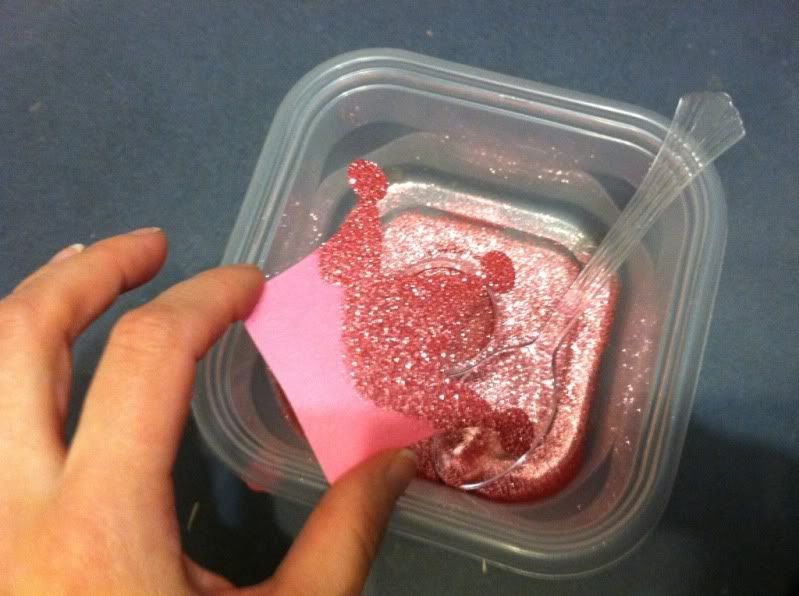
I then tapped off the excess right into the Ziploc container. No worries about clean up!
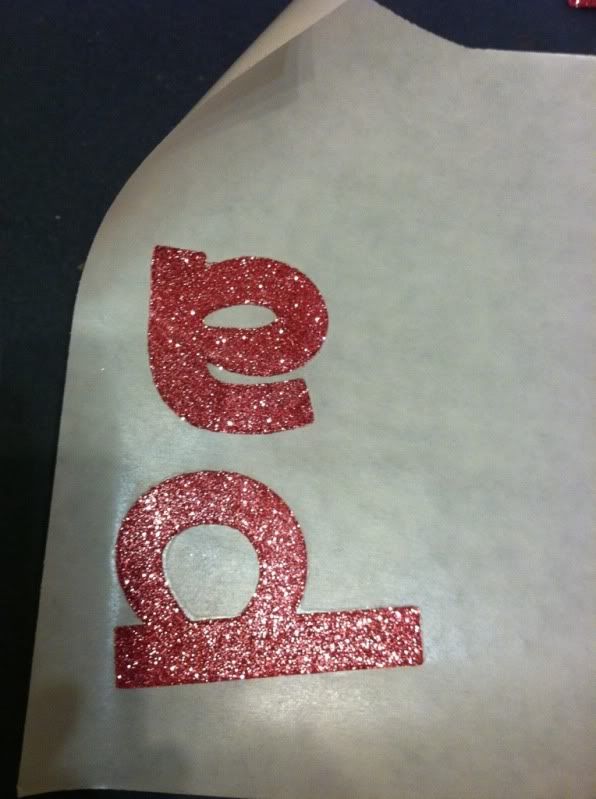
Because the Creative Station add a protective plastic layer over the items I am adding adhesive to, I was able to run the glittered pieces through it to add adhesive to the back side. This allowed me to have a strong adhesive on the back of each letter and shape I was adding to the banner without having all the glitter get ruined or clog up the machine with glitter.
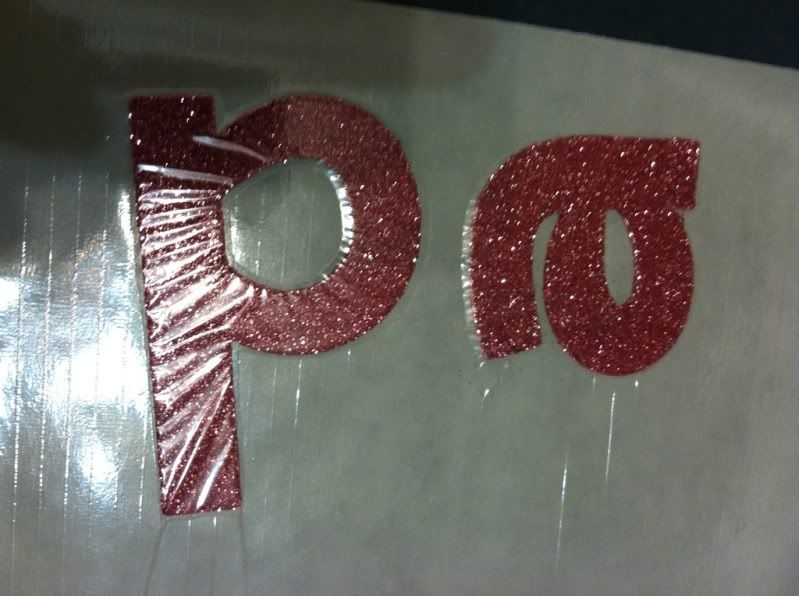
And, you can see that the glitter still looks great even after putting the letters and shapes through the machine again!
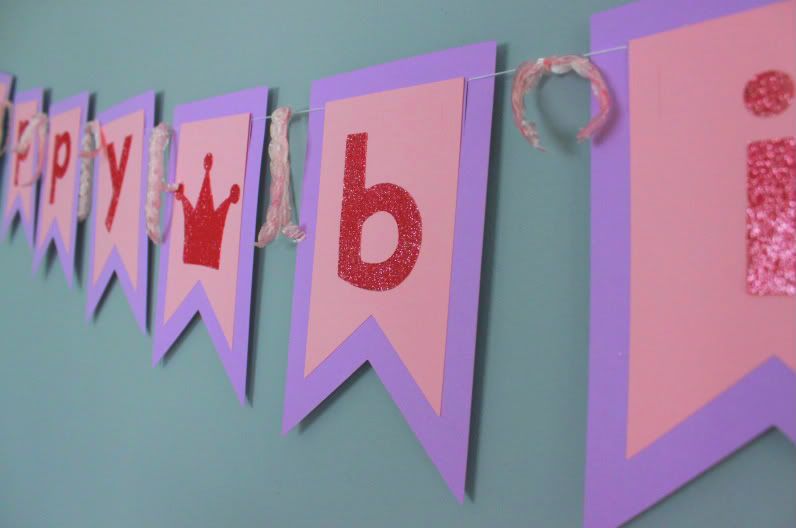
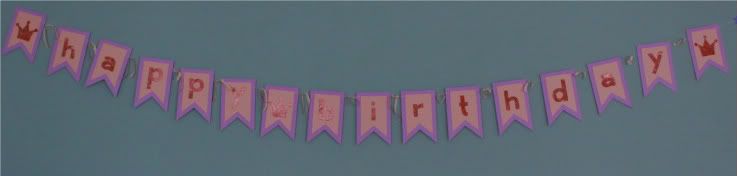
Once the letters were all full of pink, sparkly glitter and had adhesive on the back, I stuck them to the pennant shapes that I had already layered together. I then strung the banner and it is ready to go for Julia's 2nd birthday!